Planting and caring for hollyhocks
From classic to compact – the right hollyhock for every garden
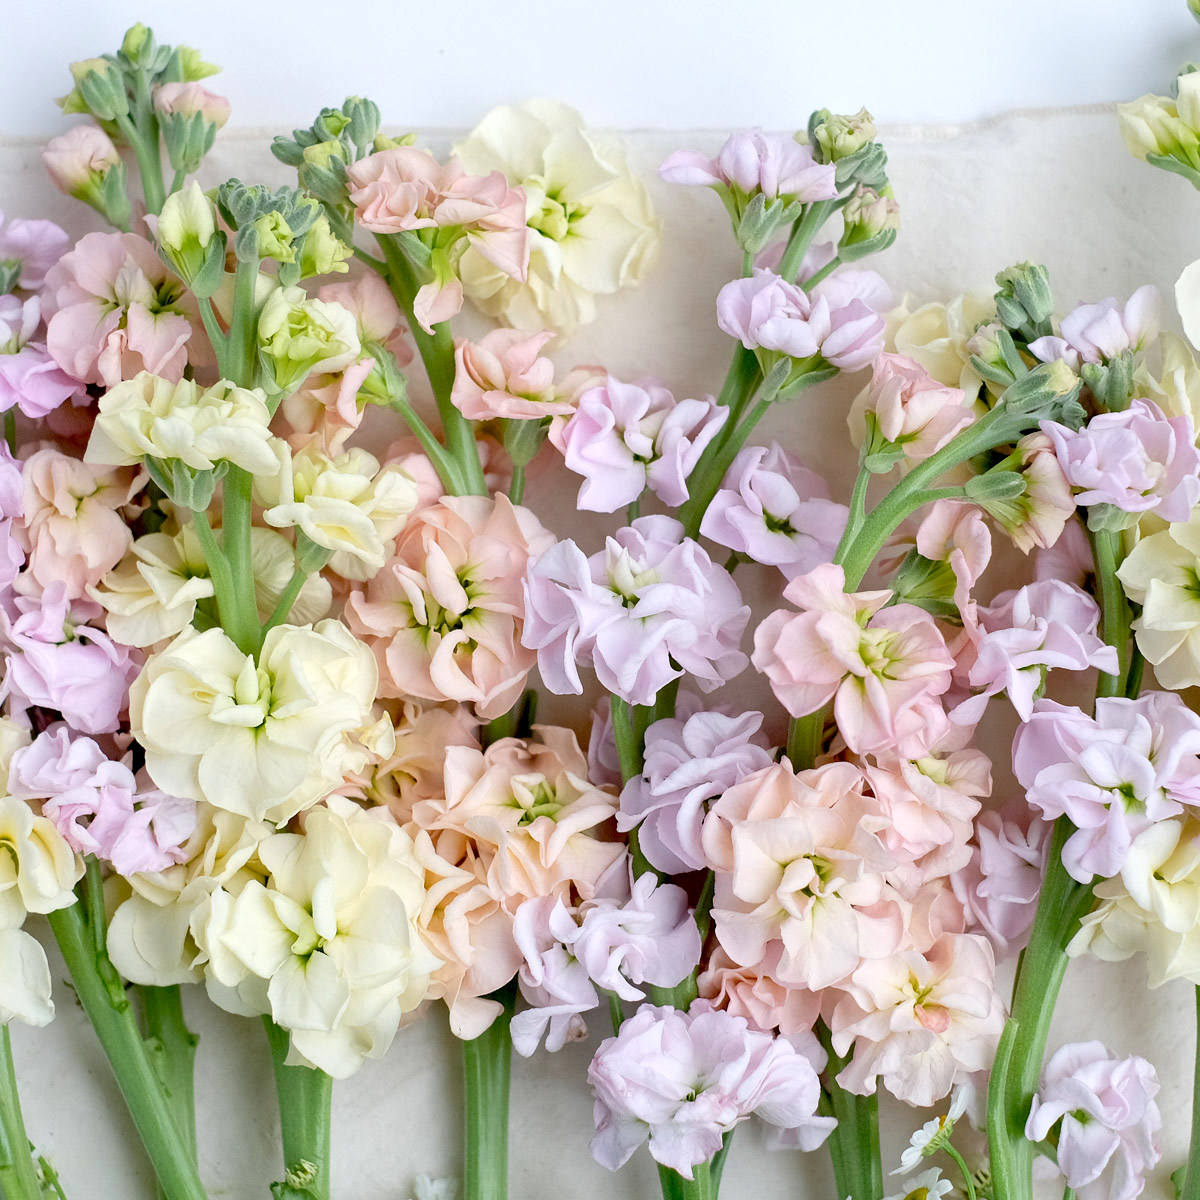
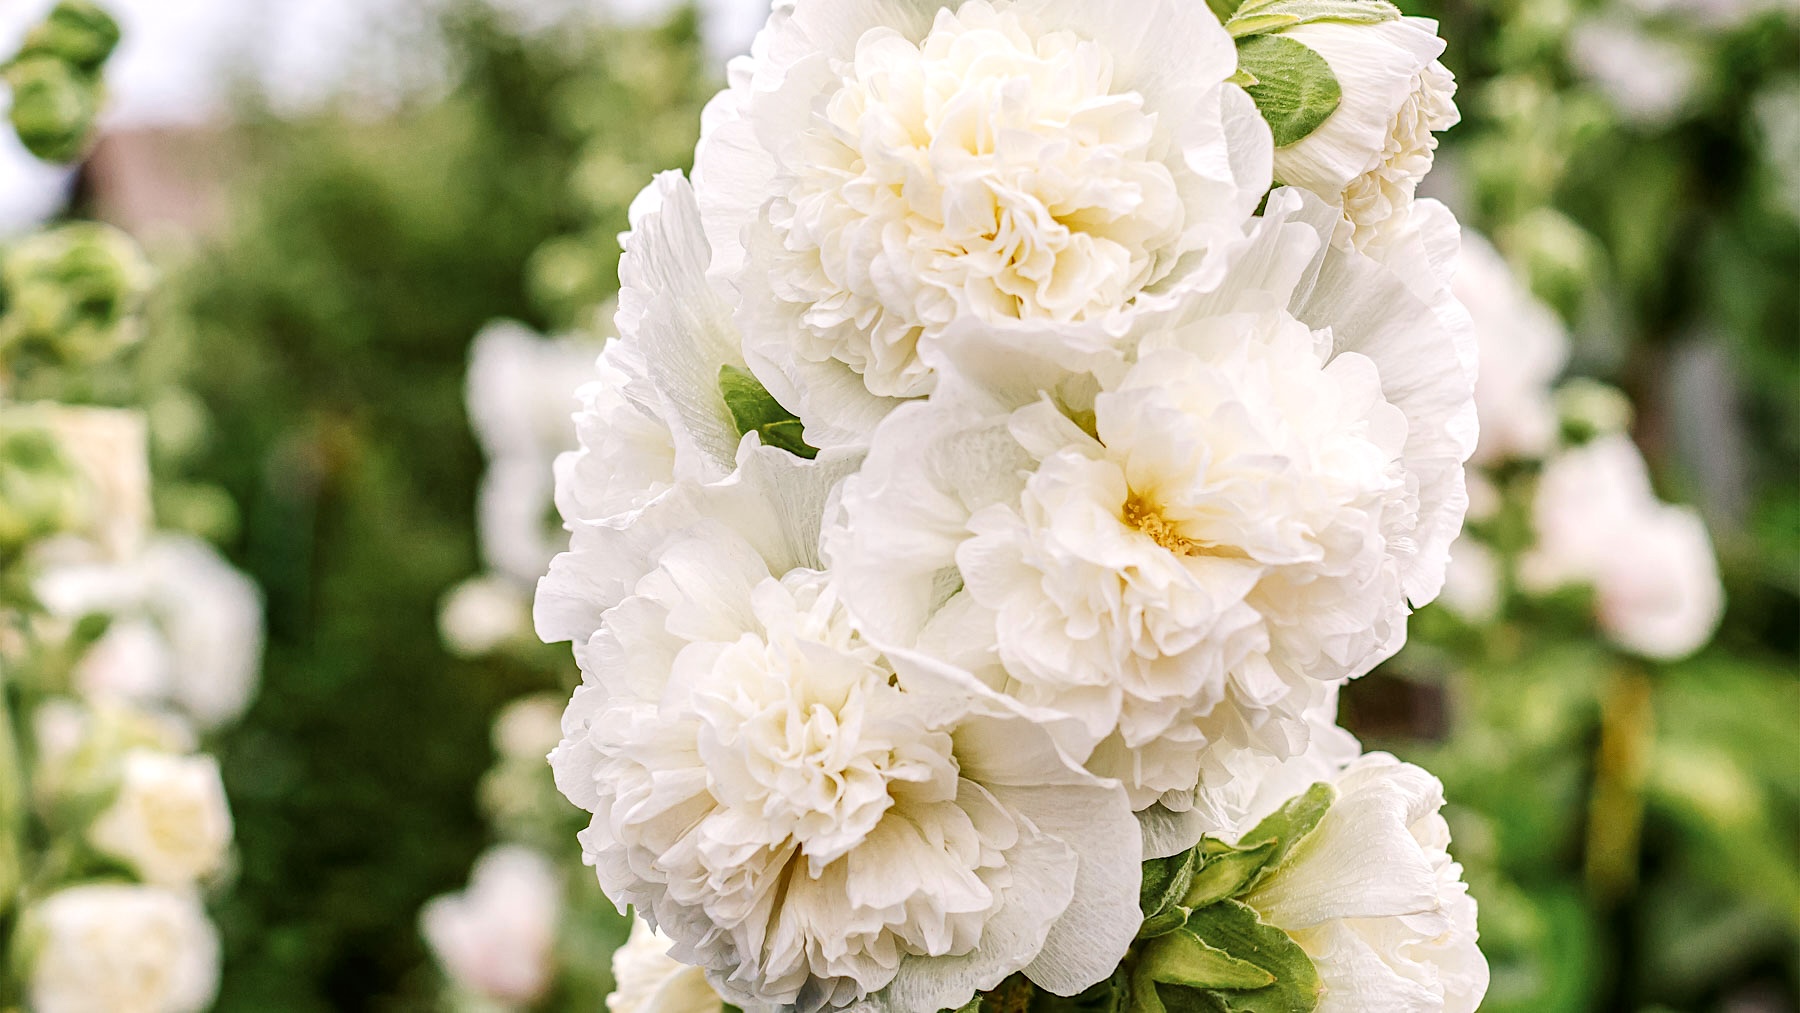
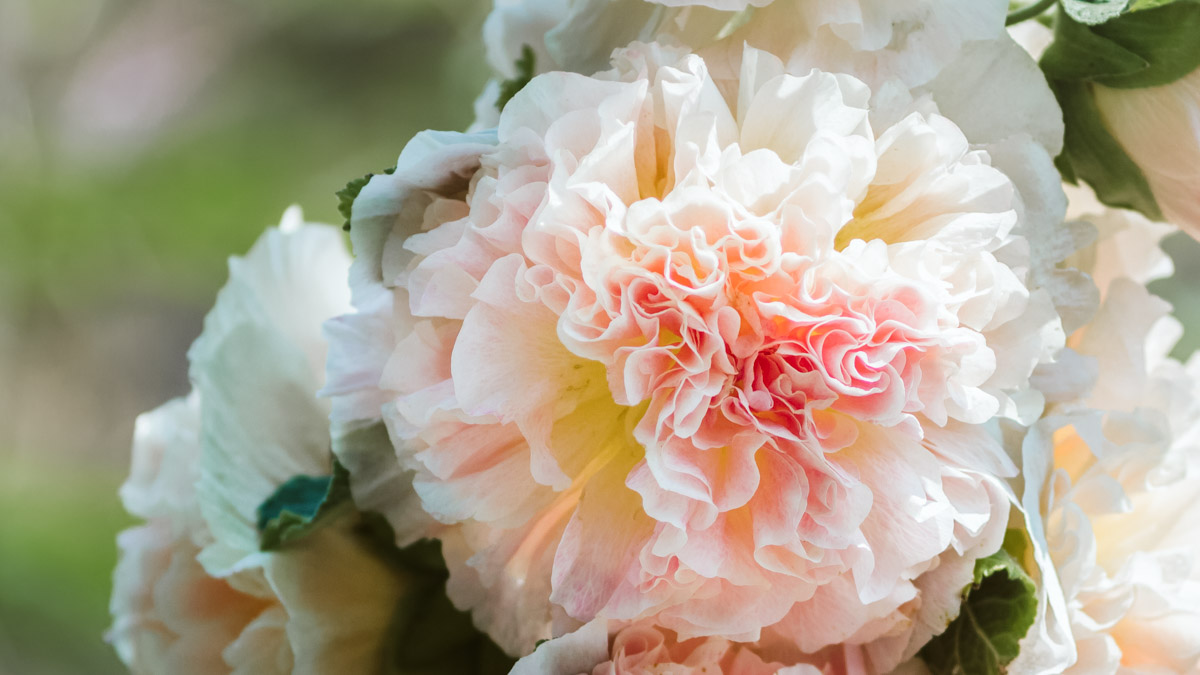
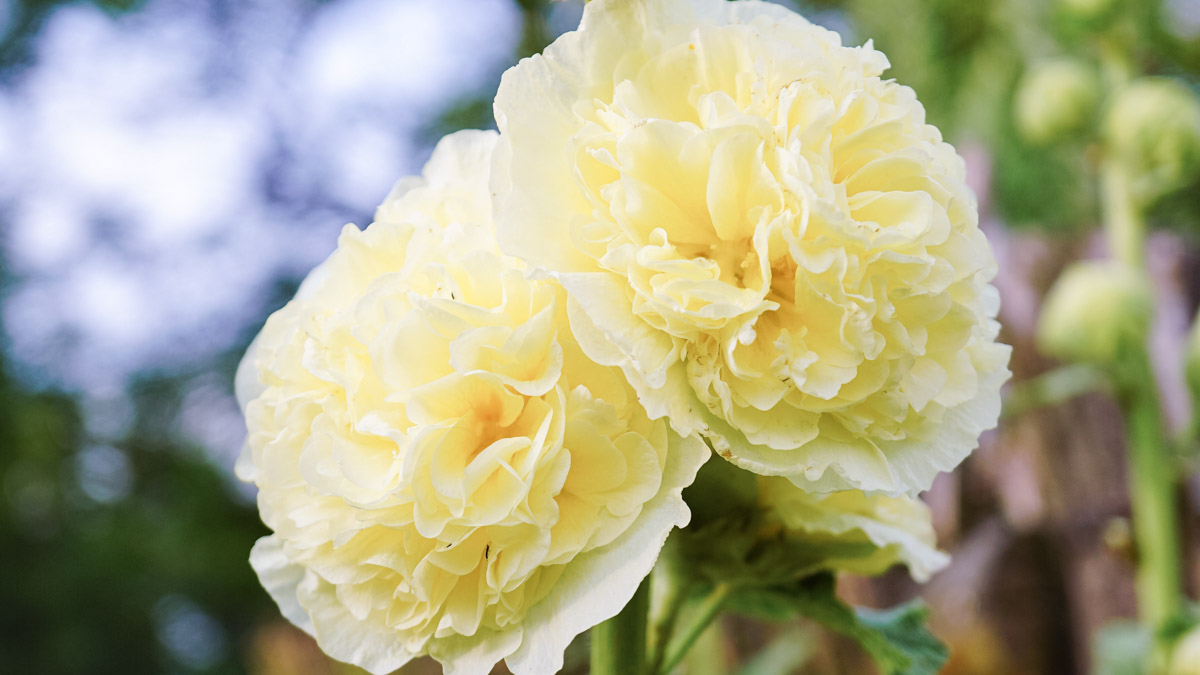
Hollyhocks (Alcea rosea) are true all-rounders in the garden and are no longer known only as tall cottage garden plants. In addition to the classic varieties, which grow majestically up to 2.5 meters in height, the Queeny series also includes compact cultivars that are 60-90 cm tall and perfect for smaller gardens, beds, and even pots and tubs. The large, bowl-shaped flowers in delicate pastel shades appear from June to September and are a magnet for bees and bumblebees. Whether you are planning a nostalgic cottage garden, designing a modern perennial bed, or want to plant your balcony, hollyhocks are versatile and enchant any location with their lush blooms.
The most important facts in brief
- Cool Flower, biennial
- Light germinator
- Sowing: February-April (indoors)/April-June & August-October (outdoors)
- Extend the flowering period by sowing successively
- Sunny/partial shade, sheltered location
- Well-drained & loose soil
- Suitable for beds, tubs, and pots
- Insect pasture
Sowing hollyhocks
Hollyhocks can be sown in two ways, depending on which method you prefer.
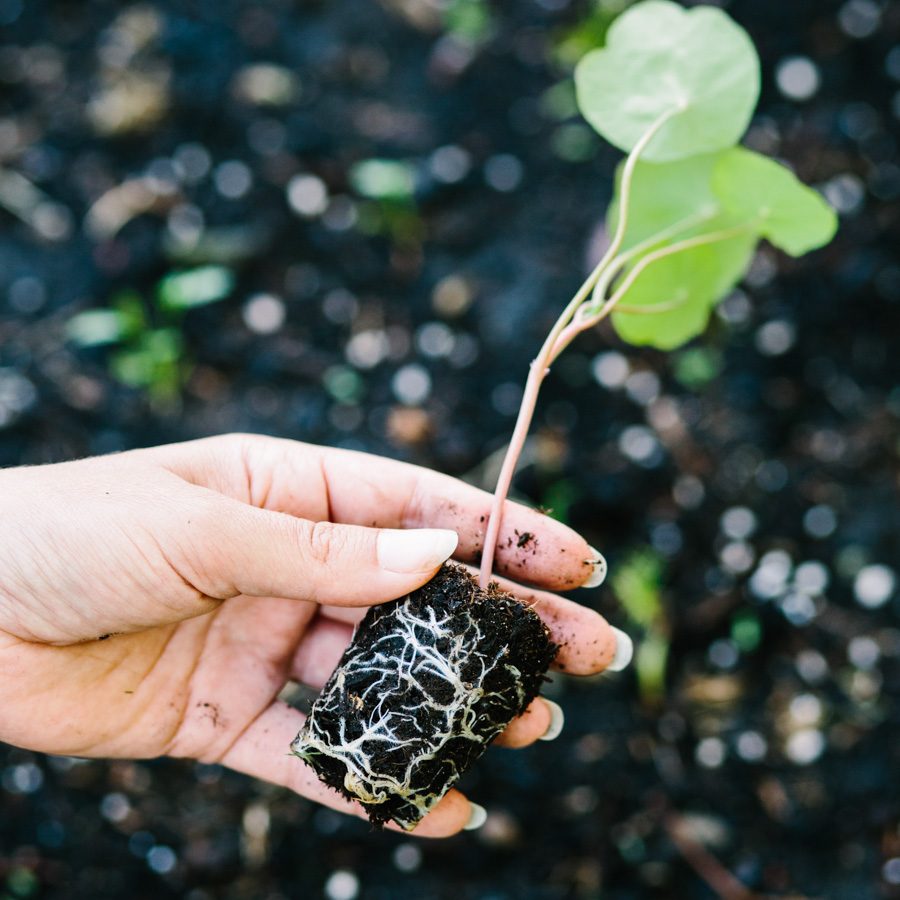
The months of February to April are ideal for protected pre-cultivation indoors. Here, the seeds can germinate undisturbed and grow into strong young plants before being moved outdoors later. A bright windowsill or greenhouse is suitable for sowing indoors. The ideal germination temperature is 15-20°C. Hollyhocks are light germinators, so the seeds should not be covered with soil – simply scatter them on the sowing soil and press down lightly. The soil should be kept evenly moist, but not wet. The first seedlings will appear after about 10-14 days. From mid-May, when frosts are no longer expected, the young plants can be planted in the bed at a distance of 40-60 cm apart.
If you prefer direct sowing, you have a generous time window at your disposal: from April to June, the seeds can be sown directly into the garden bed when nature awakens and temperatures become milder. A second sowing period then opens up again in August to October – ideal for autumn sowing, when the plants grow before winter and unfold their full splendor the following year. When direct sowing, place the seeds about 30 cm apart directly in the desired location in the garden. Here, too, the rule is: press down lightly and do not cover with soil. In the first few weeks, you should keep the sowing areas moist until the plants have grown well.
Newsletter
Jetzt anmelden und über 200 Planungskarten für deine Beetgestaltung downloaden!
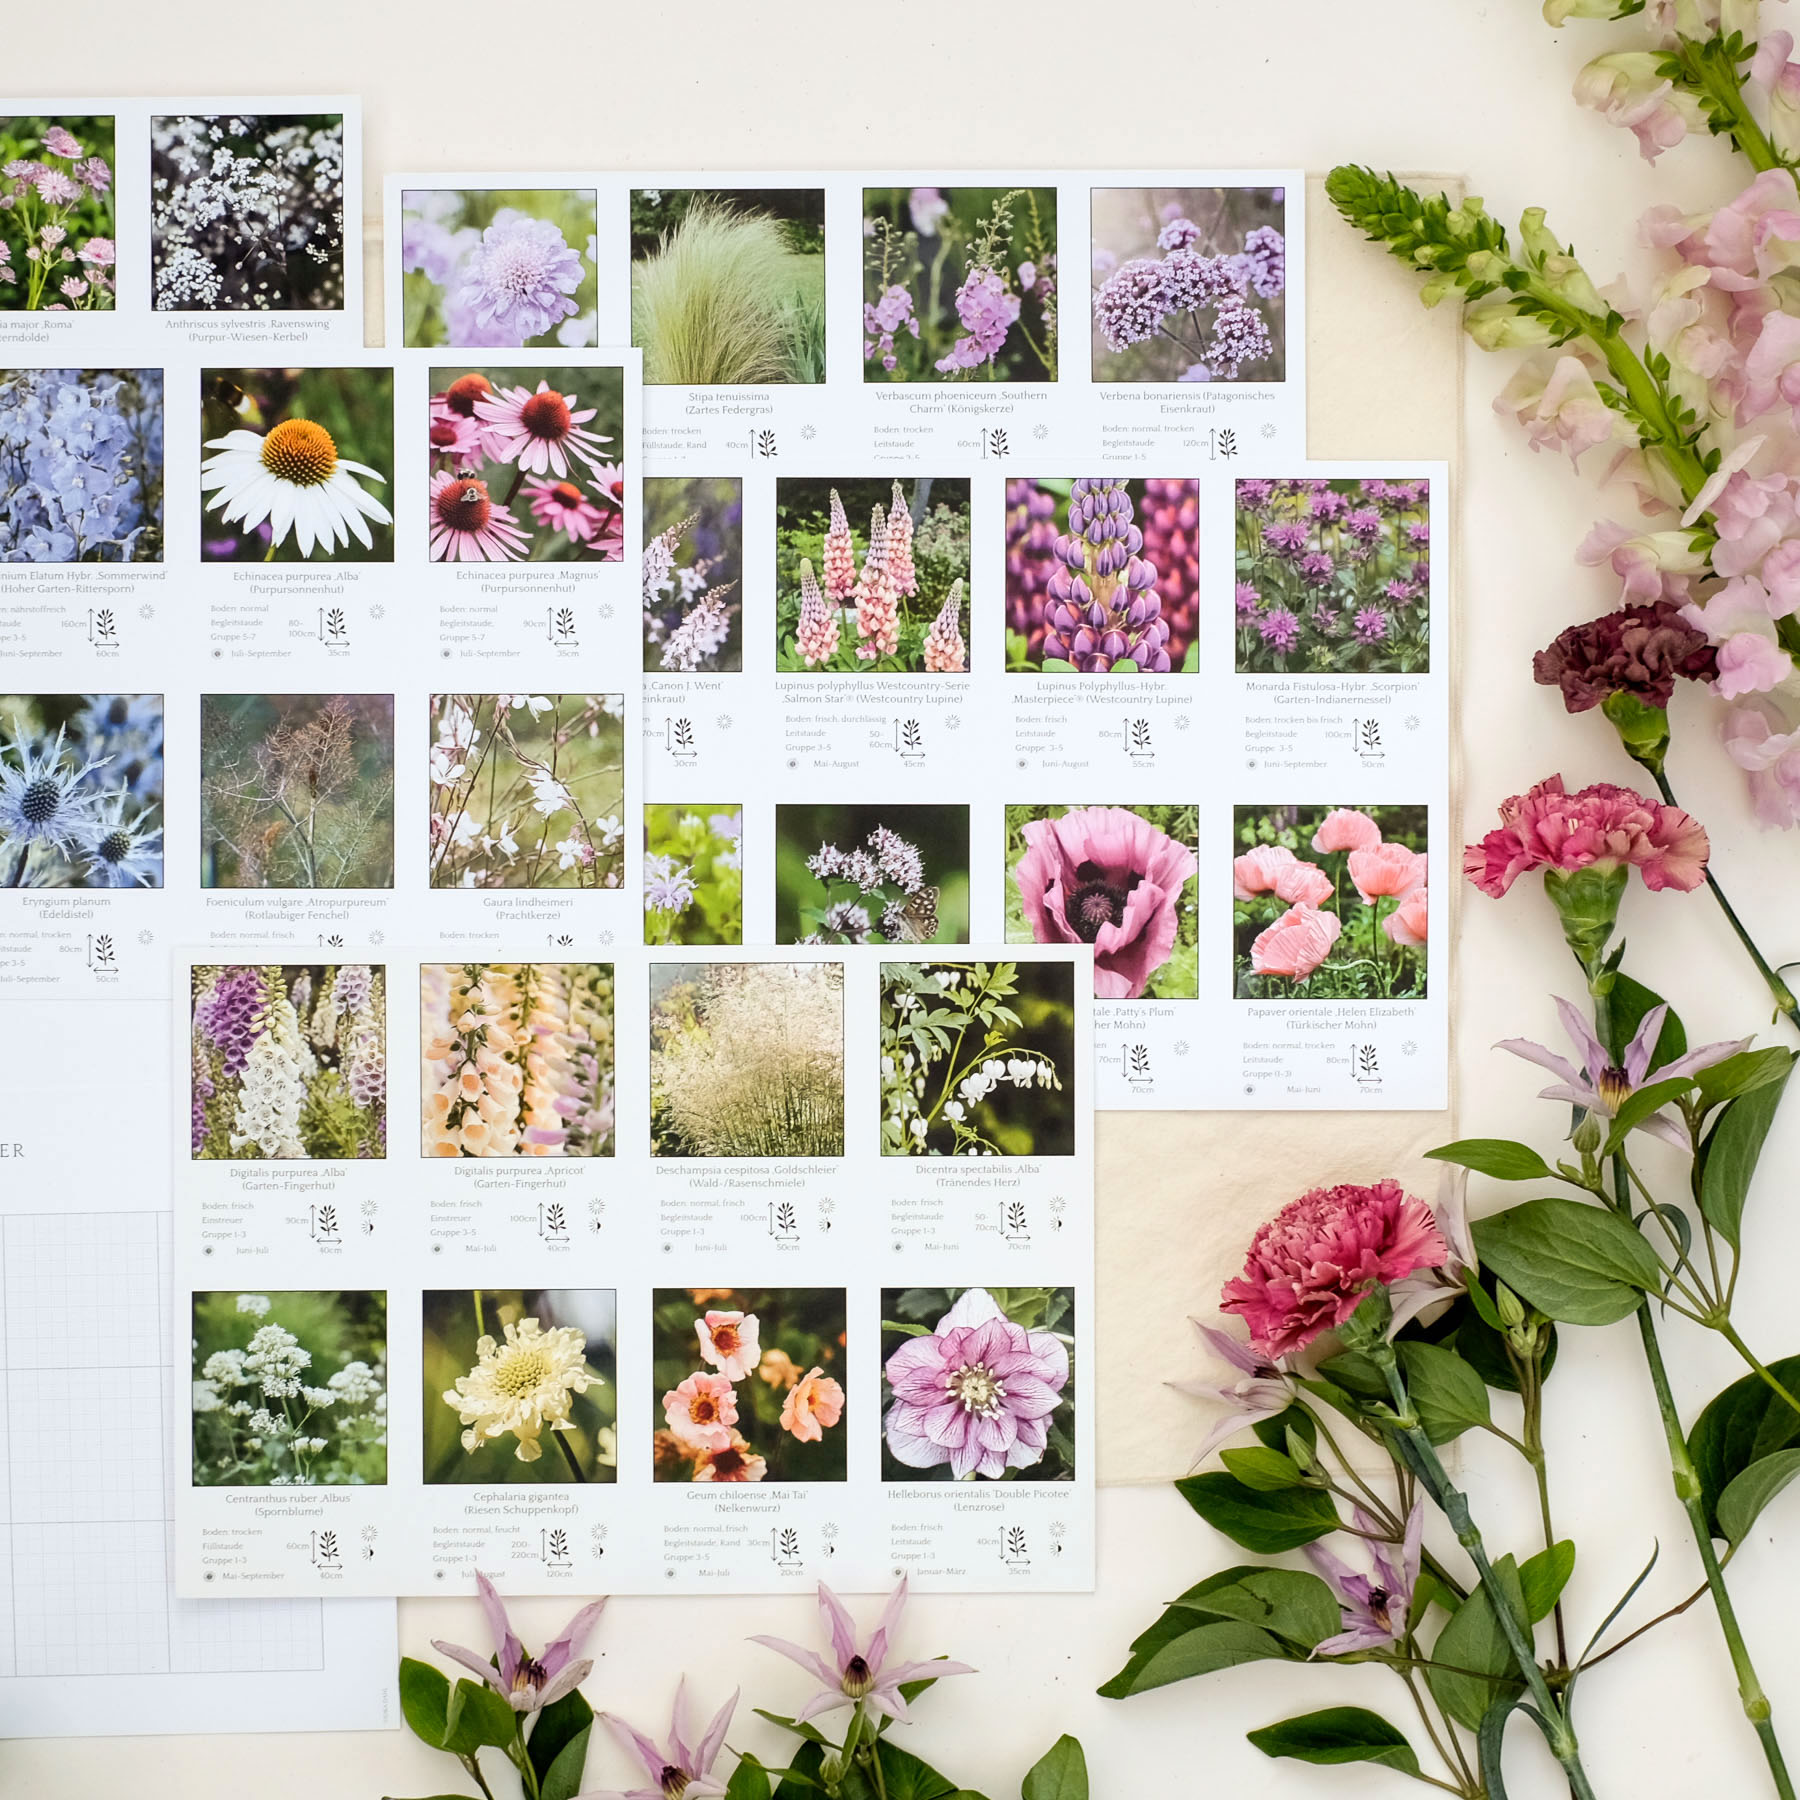
Erhalte regelmäßig hilfreich Gartentipps, besondere Vergünstigungen und werde immer als Erste benachrichtigt, wenn unsere Blumen in der Saison online gehen! Außerdem bekommst du zusätzlich unsere digitalen Planungskarten. Du kannst sie ausdrucken und damit kinderleicht dauerblühende, pflegeleichte Beete planen! Bitte prüfe nach der Anmeldung auch deinen Spam-Ordner für den Bestätigung-Link.
Location & soil for hollyhocks
Hollyhocks love sunny locations, but also thrive in partial shade. The more sun they get, the more luxuriant their blooms will be, but even in a spot with a few hours of shade, they will still produce impressive flowers. A warm, sheltered location is ideal.
The soil should be deep, nutrient-rich, and well-drained. Hollyhocks develop a strong taproot that penetrates deep into the ground. Therefore, good soil preparation is important: loosen the soil and work in mature compost. Heavy, loamy soils should be improved with sand to prevent waterlogging. Once well established, hollyhocks are extremely drought-tolerant and can cope well with prolonged periods of hot weather.
The tall, classic varieties look particularly good in front of a house wall and can even serve as a privacy screen. The compact Queeny varieties, on the other hand, are true all-rounders: they fit perfectly in the middle of a flower bed, are suitable for smaller gardens, and even grow wonderfully in large pots and tubs on balconies and terraces. Their compact growth makes them more stable and they usually do not need any support – ideal for windy locations!
Caring for hollyshocks
Caring for hollyhocks is delightfully straightforward. In the first few weeks after planting, you should water regularly to ensure that the plants grow well. Once they are established, they only need additional water in extremely dry conditions. The deep taproot reliably supplies the plants with moisture from deeper layers of soil. Fertilizing in spring with mature compost or an organic slow-release fertilizer supports growth and ensures abundant flowering. During the flowering period, you can treat the plants to liquid fertilizer about every four weeks.
Regularly removing wilted flowers prolongs the flowering period and stimulates the formation of new buds. To do this, cut off wilted flowers regularly. If you want the hollyhocks to self-seed, leave some seed heads on the plant. The seeds ripen in late summer and fall out, so you can expect new young plants next year. In fall, after flowering, cut the flower stems close to the ground. The leaf rosette remains in place over the winter. Light winter protection with brushwood is recommended in harsh locations, otherwise hollyhocks are sufficiently hardy.
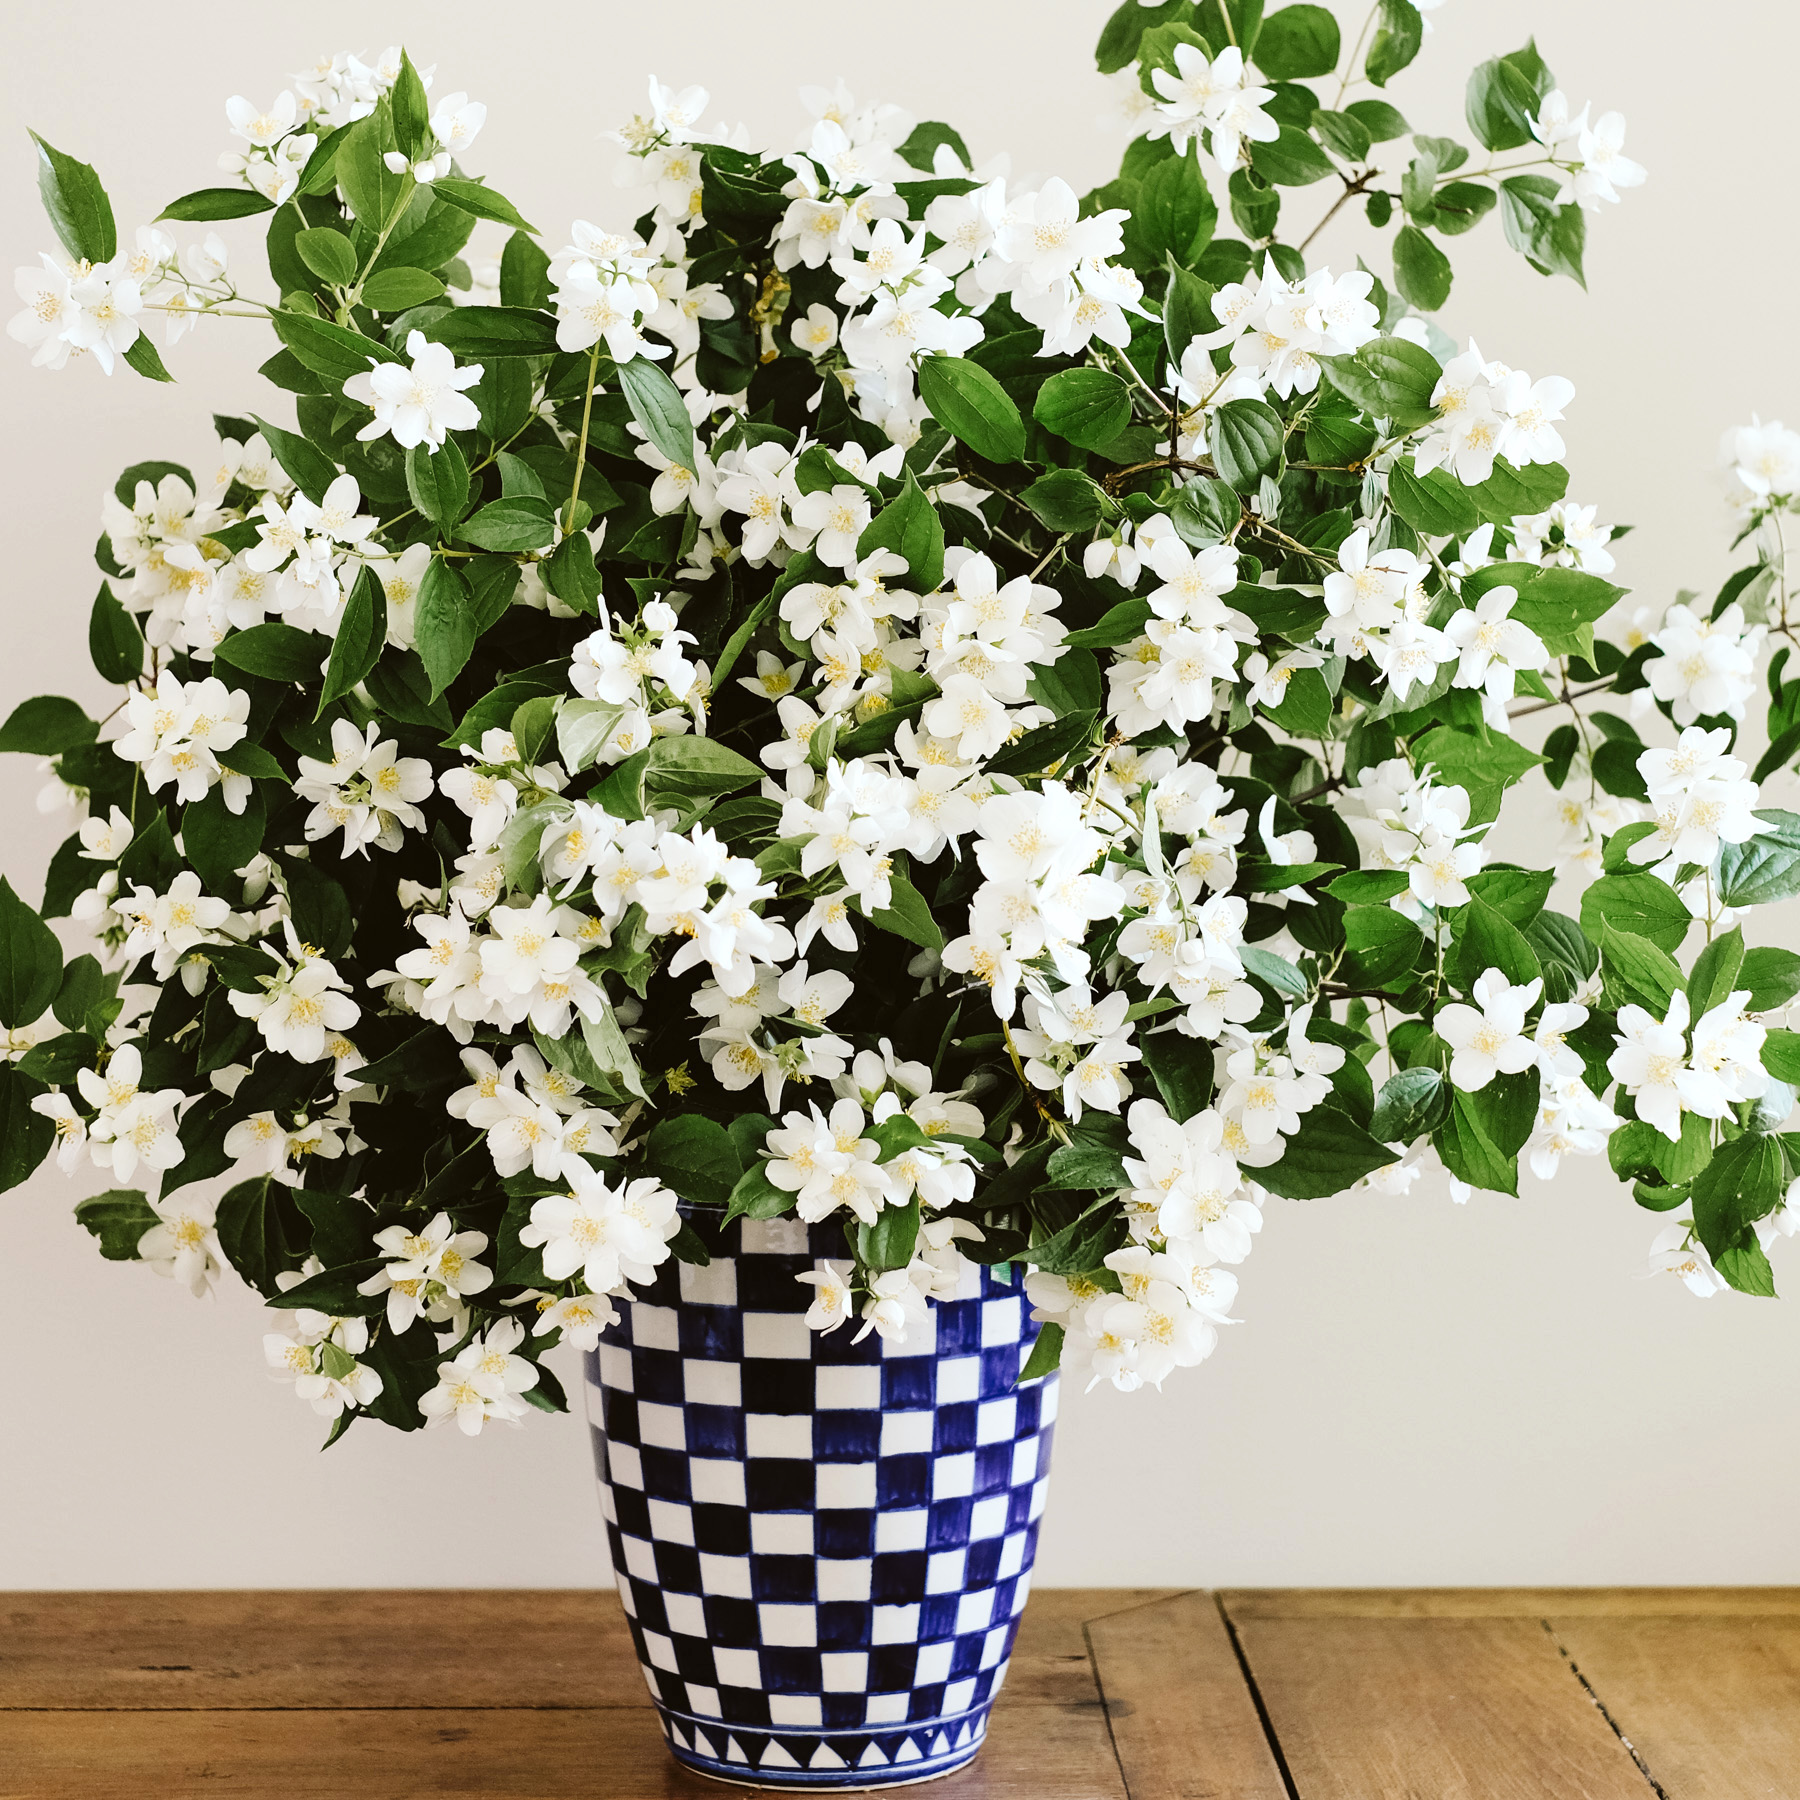
Cutting hollyhocks for a vase
Hollyhocks also look wonderful in a vase. It is best to cut the stems early in the morning (with a sharp knife or garden shears) when the lowest flowers have just opened. Choose stems that already have several buds – these will gradually open in the vase. Place the stems in fresh, lukewarm water immediately. Cut them fresh every two days and change the water, then the hollyhocks will delight you for up to a week in the vase. The upper buds open one after the other, ensuring long-lasting blooms.
Hollyhocks look particularly charming when combined with grasses, delphiniums, or other summer flowers from the garden.